
Table of Contents
ToggleVictorian tiny homes bring ornate elegance to modern compact living. These charming dwellings combine authentic 19th-century architectural details, crown molding, bay windows, wraparound porches, with the efficiency and affordability of tiny house design. Whether you’re drawn to victorian tiny home aesthetics for a new build or planning to retrofit an existing small space, blending period character with smart spatial planning creates a home that’s both beautiful and livable. This guide walks you through the design principles, key features, and practical DIY upgrades that make victorian tiny houses work in 2026.
Key Takeaways
- Victorian tiny houses blend ornate 19th-century architectural details like crown molding, bay windows, and wraparound porches into 200–600 square feet of efficient, affordable living space.
- Crown molding (4–6 inches), baseboards (8–12 inches), and wainscoting are the visual backbone of Victorian design—install them with a miter saw and construction adhesive for high-impact transformation.
- Use lighter period color palettes (cream, pale sage, soft yellows) on walls with one accent wall or exterior in deeper tones to prevent a cramped feeling in compact spaces.
- Maximize functionality by giving every surface dual purpose: bay window seats with storage, entryway coat closets, and vertical built-in shelving keep the space open and livable.
- High-impact DIY projects like installing baseboards, painting accent walls, building bay window seats, and adding wainscoting are beginner-friendly upgrades that transform a basic tiny home into a period-authentic showpiece.
What Defines Victorian Tiny House Design
Victorian tiny house design merges two distinct aesthetics: the ornate, detail-rich character of Victorian architecture (roughly 1837–1901) with the efficient, minimal-waste approach of modern tiny living. Unlike historic Victorians that sprawled across 3,000+ square feet, victorian tiny homes compress those iconic elements, gables, turrets, wraparound porches, pitched roofs, into 200–600 square feet.
The core appeal is authenticity without waste. You get the charm of period craftsmanship, from hand-painted trim to custom millwork, but intentionally planned to avoid dead space. Every room serves multiple functions, and every surface gets a second look before adding ornamental detail. This is where good design thinking matters: a bay window becomes a window seat with storage underneath: a Victorian-style entryway doubles as a coat closet and mudroom. These homes prove that period style and practical living aren’t mutually exclusive.
When building or renovating, the Victorian tiny home approach respects historical proportion while respecting modern building codes and material standards. Nominal lumber sizes (2×4s, 2×6s) work as they always have: finish materials can range from authentic plaster and lath to modern drywall with plaster-smooth finishes. The difference lies in intentional detailing and color choices that anchor the Victorian character.
Key Architectural Features to Embrace
Ornamental Details and Trim Work
Victorian trim work is the visual backbone of the style. Crown molding, baseboards, wainscoting, and window casings define the rooms. For a 8-foot ceiling, expect crown molding 4–6 inches deep: baseboard runs 8–12 inches tall. These dimensions feel proportional in small spaces if you’re disciplined about wall color and avoid overwhelming surfaces with pattern.
Installing crown molding requires basic carpentry skills and a miter saw, this is where angle cuts matter. A miter saw gives you cleaner 45-degree cuts than a circular saw, though both work if you’re patient. Pre-made molding comes in pine, MDF, and hardwood: pine is budget-friendly and takes paint well, while hardwood stains beautifully if you want authentic wood tones. Plan for seams every 12–16 feet: cope the inside corners (cut one piece to the profile of the adjacent piece) for a seamless look.
Wainscoting, typically beadboard or shiplap panels running 30–36 inches up the wall, adds texture and visual interest without claustrophobia. Install it over drywall with construction adhesive and finish nails: caulk seams before painting. This is a forgiving project: measure, cut, apply, nail. No special tools beyond a miter saw and nail gun needed.
Color Palettes and Exterior Materials
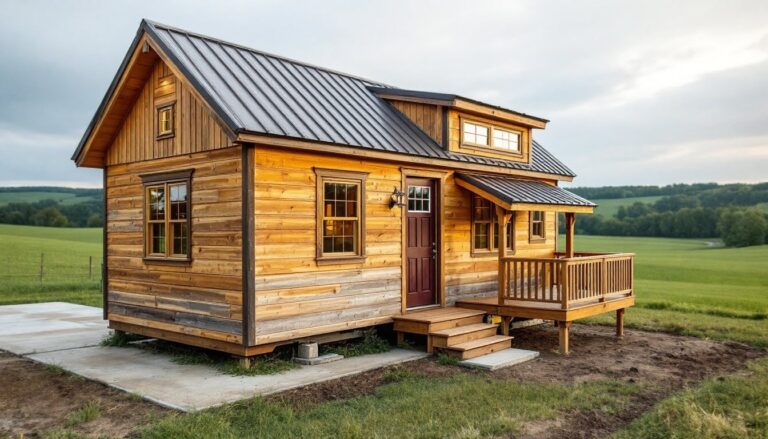
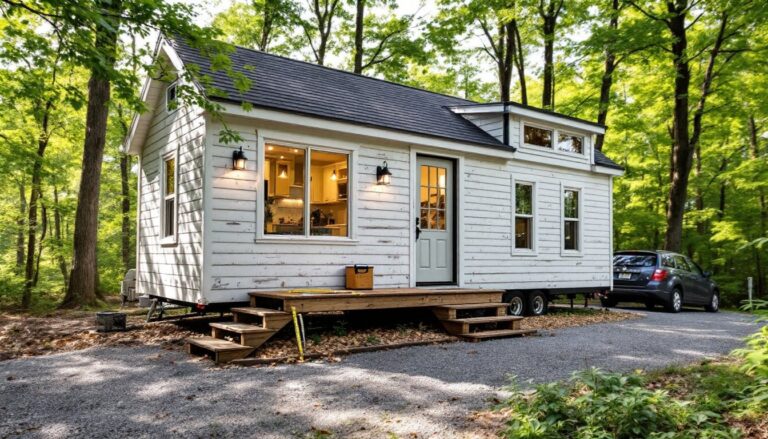
Victorian homes favored deep, saturated colors: sage green, burgundy, forest green, and cream. For tiny homes, lighter versions prevent cramped feelings. Consider cream or pale sage on walls, with one accent wall in a deeper tone. Exterior paint on small houses reads more dramatically, a pale yellow with burgundy trim and dark green shutters creates strong curb appeal on a modest footprint.
Exterior materials follow historical precedent: wood siding (horizontal lap or shiplap), trim, and painted or stained details. If budget allows, authentic materials like cedar or pine siding develop patina over time and accept finishes naturally. Budget alternatives include fiber-cement boards (Hardie boards), which are durable and take paint well. Plan on two coats of quality exterior primer and paint: most premium exterior paints cover 300–350 square feet per gallon, so a tiny home’s exterior might need just 2–3 gallons total.
Roof pitch matters visually: Victorian homes typically sport 6:12 to 12:12 pitches (steep angles that shed water and snow efficiently). A steeper pitch on a small footprint creates drama and maximizes attic storage. Cost trade-off: steeper roofs use more materials and labor, but the visual payoff justifies it for period authenticity. Roofing shingles in slate gray, forest green, or charcoal ground the Victorian aesthetic without looking dated.
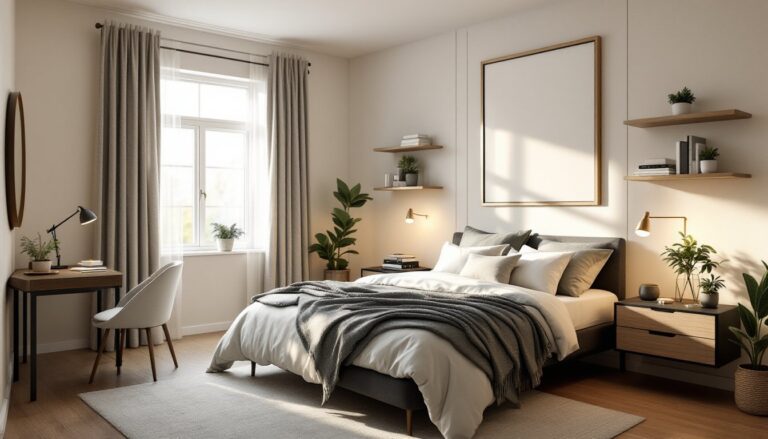
Interior Design and Space Planning
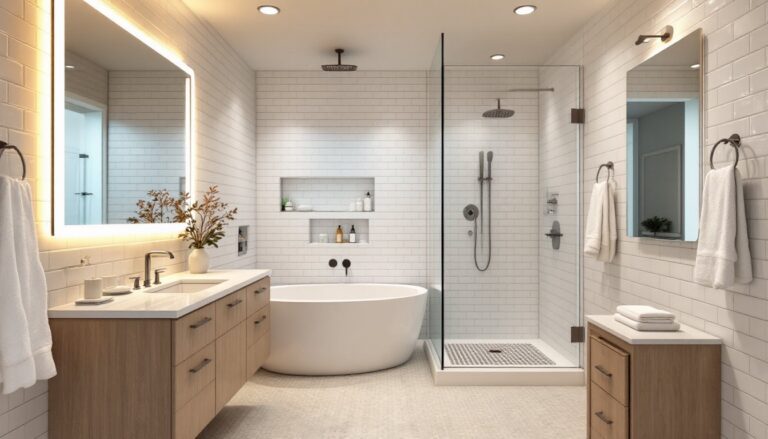
Victorian interiors balked at empty space, every wall was useful, every corner held function or beauty. Modern tiny homes benefit from that philosophy. Compact floor plans work best with defined zones: sleeping areas separated by pocket doors or partial walls, kitchens that don’t dominate the living space, and bathrooms designed for efficiency, not luxury.
Layout is critical. A 300-square-foot victorian tiny home might allocate 80 sq ft to bedroom, 60 sq ft to kitchen, 40 sq ft to bathroom, and 120 sq ft to combined living-dining space. This leaves room for hallways, closets, and architectural detail without cramping. Vertical storage, built-in shelving, tall cabinetry that climbs to the ceiling, lofted sleeping areas accessed by narrow stairs, keeps floor open and functional.
Color coordination ties rooms together. Paint adjacent spaces in harmonious tones: cream in the living area, pale sage in the bedroom, keeping trim white or off-white throughout. This creates flow and makes the space feel larger than it is. Large mirrors opposite windows amplify natural light: vintage brass or bronze fixtures (period-appropriate) accent the style without bulk.
Victorian design embraced texture: patterned wallpapers, upholstered furnishings, heavy drapery. In a tiny home, use these selectively. One accent wall with period-appropriate wallpaper (damask, small floral prints, geometric patterns) adds character: avoid wrapping all walls or the space contracts visually. Light, airy furnishings, wooden chairs with curved legs, glass-topped tables, narrow bookcases, fill the space without blocking sight lines.
DIY Projects for Victorian Tiny Home Upgrades
Several upgrades are well within DIY reach and transform a basic tiny home into a period showstopper:
Install Crown Molding and Baseboards: This is your highest-impact visual upgrade. Measure your walls, determine ceiling height, choose molding profile (typically 4–6 inches for crown, 8–10 inches for baseboards in a small home), and miter the corners. Use a miter saw, construction adhesive, and finish nails (1.5-inch for baseboard, 2.5-inch for crown). Caulk seams with paintable silicone, sand smooth, and paint with two coats of quality interior paint. A 400-square-foot home might need 200 linear feet of crown and 300 linear feet of baseboard, manageable over a weekend if you have basic carpentry confidence.
Paint and Wallpaper Accents: Choose Victorian-era colors and apply them deliberately. Paint requires surface prep: wash, sand glossy finishes, fill gaps with spackling compound, prime stains. One gallon covers roughly 400 square feet with two coats, so a small bedroom needs one quart. Wallpaper an accent wall or powder room: measure twice, hang carefully, and use a smoothing tool to eliminate bubbles. This project requires patience but no special tools beyond a utility knife and smoothing brush.
Install Bay Window Seats: If you have a bay window (or can retrofit one), building a cushioned bench inside adds function and charm. Frame a wooden box the width of the bay, add a hinged lid for storage, and cushion the top with foam and upholstery fabric. Height should be 18–20 inches (standard seat height). This is beginner-friendly: cut 2×10 or 2×12 boards, assemble with pocket holes (using a Kreg Jig simplifies joinery), add a hinge and chains for the lid, and upholster. A small space living ideas resource like Apartment Therapy offers inspiration and tutorials.
Add Wainscoting or Shiplap: Beadboard wainscoting running 30–36 inches up a hallway or bedroom adds texture and period authenticity. Measure wall height, purchase pre-made beadboard panels, apply construction adhesive to studs, nail every 16 inches, caulk seams, and paint. Shiplap offers a similar effect with overlapping horizontal boards. Home renovation tutorials from This Old House provide step-by-step guidance.
Restore or Install Period Light Fixtures: Victorian homes favored brass, bronze, and frosted glass. Swapping a builder-grade ceiling fixture for a period-appropriate pendant or chandelier (modest size for tiny homes) anchors the style. Installation is standard electrical work, if you’re not comfortable, call a licensed electrician. Plan on $200–600 for quality reproduction fixtures.
Safety and prep matter in every project. Wear goggles when ripping crown molding, gloves when handling trim (splinters), and a dust mask when sanding. Use a stud finder to locate framing before nailing: miss the studs and you’ll pop nails through drywall. Prime all bare wood before painting to ensure even color and adhesion. Measure multiple times: cut once. These habits prevent costly mistakes and rework.
Conclusion
Victorian tiny homes prove that period style thrives in compact spaces when you plan deliberately. Ornamental trim, authentic color palettes, and careful spatial planning create character-rich homes that feel intentional, not cramped. Start with high-impact projects, crown molding, fresh paint, trim details, and layer in personalization as budget allows. The result is a home that honors Victorian craftsmanship while embracing modern efficiency. For more inspiration and proven techniques, explore tiny homes strategies and energy-efficient tiny houses to refine your approach.