Table of Contents
ToggleDividing a single bedroom into two functional spaces is one of the smartest home improvements for growing families, remote workers, or anyone needing flexibility. Whether you’re maximizing a guest room, creating a home office and sleeping area, or giving each kid their own space, splitting a bedroom doesn’t require gutting walls or hiring a general contractor. You can tackle this project through permanent partitions, temporary dividers, strategic furniture placement, or a hybrid approach. The right solution depends on your timeline, budget, rental restrictions, and whether you need the flexibility to reconfigure later. This guide walks through proven methods to split your bedroom efficiently while keeping costs reasonable and the work manageable.
Key Takeaways
- Splitting a bedroom into two spaces can be accomplished through temporary dividers (tension rods, folding screens), permanent partition walls, or strategic furniture placement—each approach suits different budgets and timelines.
- A permanent partition wall requires locating studs, framing with 2×4s, running drywall, and checking for building permits in your jurisdiction, though the payoff includes sound isolation and resale value.
- Budget-friendly bedroom division starts at $300–$500 using tension rod curtains, used bookcases, and area rugs, while a full permanent wall averages $400–$800 in materials.
- Natural light distribution is critical when splitting a bedroom—prioritize the sleeping zone for window access and use light-reflecting paint, task lighting, and mirrors to brighten the secondary space.
- Add outlets, climate control, and shared storage solutions early in your split bedroom plan to avoid expensive post-installation modifications.
- Sketch a scaled floor plan and test furniture arrangements before committing to permanent changes, as planning mistakes cost significantly more to fix than the time spent upfront.
Using A Room Divider Or Partition Wall
Temporary Divider Options For Flexibility
Temporary dividers are ideal if you’re renting, testing a layout before committing, or want to reconfigure easily. Tension rod curtain systems are the quickest and cheapest option, anchor a steel tension rod from one wall to the opposite wall (8 to 12 feet spans are typical) and hang blackout curtains or acoustic fabric. Installation takes minutes and costs $50–$150 depending on rod quality and fabric. Verify your walls are solid enough to support the rod’s weight when tensioned: drywall alone may not hold without a stud or toggle bolt behind it.
Freestanding room dividers, folding screens, rolling partitions, or modular panels, offer portability without wall attachment. A 6-panel folding screen in wood or metal runs $100–$300 and moves instantly if you rearrange. Rolling fabric partitions (popular in offices) are sturdy, come in various heights, and typically cost $200–$500 for a quality unit. One limitation: temporary dividers muffle sound poorly, so expect conversation and noise to travel between zones.
Installing A Permanent Partition Wall
A permanent stud wall gives you full separation, accommodates a door, and supports paint, shelving, or other finishes. This is structural work, depending on your jurisdiction and the wall’s location, you may need a building permit. Check with your local building department first: many areas require permits for any wall that affects egress (emergency exit) or load-bearing conditions.
Before framing, locate and mark studs in the existing walls using a stud finder. Run electrical and plumbing rough-in (if needed) before hanging drywall, installing outlets, switches, or vents after framing is messy and code-compliant placement matters for safety and convenience. A typical interior wall uses 2×4 studs spaced 16 inches on center, a sole plate (bottom) and top plate secured to the floor and ceiling. If the ceiling is drywall, locate joists above: the top plate must screw into solid framing every 16 inches.
Frame the wall in place: snap a chalk line where the wall will run, secure the sole plate to the floor with 2.5-inch screws or nails every 16 inches, then position studs. Add a door opening if desired, a standard interior door is 32 inches wide, requiring trimmer studs and a header (a 2×6 horizontal beam above the opening). Once framing is solid, run drywall, tape, and mud for a seamless finish. Paint with primer and two coats of finish paint. This approach takes a weekend for two people and costs $400–$800 in materials (studs, drywall, fasteners, paint), not including electrical work if you add outlets. The payoff: a true separate room with sound isolation, climate control zoning, and resale appeal if done to code.
Creating Two Rooms With Strategic Furniture Placement
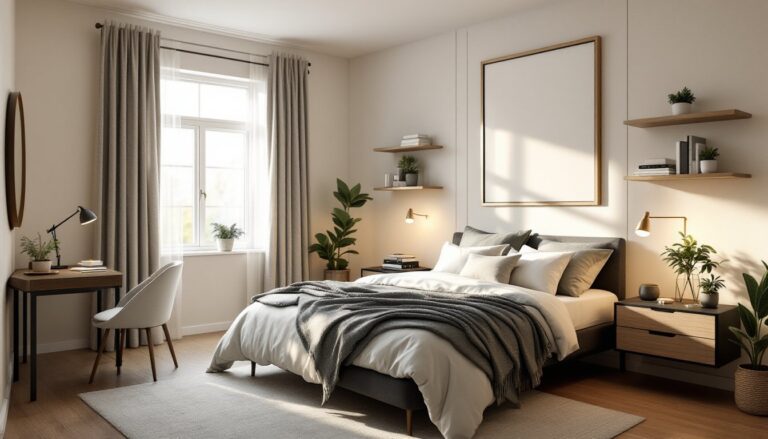
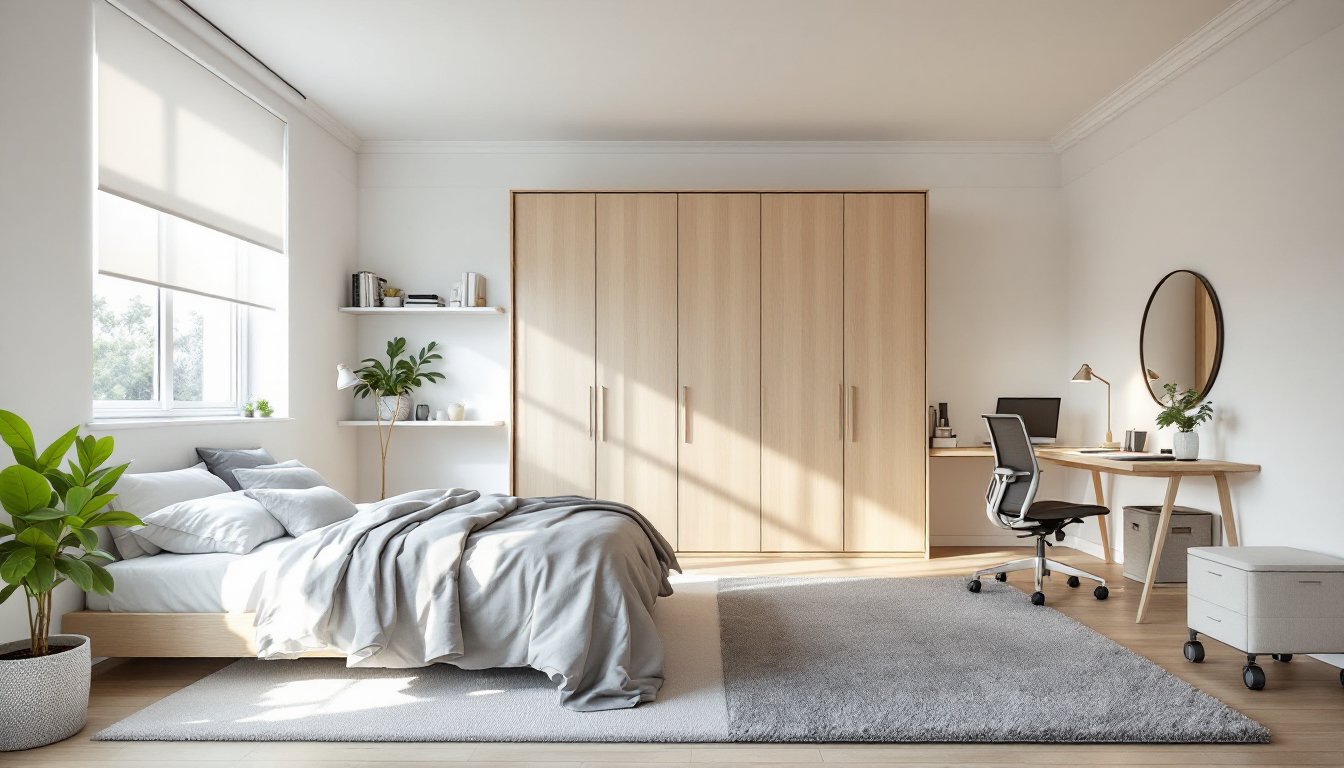
No construction needed here, smart furniture arrangement can divide a room visually and functionally. A tall bookshelf, wardrobe, or shelving unit acts as a room divider while providing storage. Position a 6-foot-tall IKEA PAX wardrobe or similar modular shelving perpendicular to the existing wall: it creates a clear boundary without eating into floor space. IKEA PAX wardrobes can be configured as flexible dividers that separate sleeping and working zones while keeping the room feeling open.
Angled furniture placement, rather than aligning everything parallel to walls, naturally segments the space. A desk and chair angled in one corner, a bed in the opposite area, and a nightstand between them creates two psychological “rooms” within one. Area rugs reinforce the division: place one rug under each zone’s primary furniture (bed in one zone, desk in the other) to anchor each space visually.
Layered soft furnishings also help: a room-dividing sofa (back facing one zone, seating facing the other), hanging fabric panels, or lightweight room-dividing curtains hung from the ceiling soften the boundary while allowing light and air flow. This method costs $200–$1,000 depending on furniture choices and works best in larger bedrooms (12×14 feet or bigger). The flexibility is excellent, reconfigure in an hour if plans change. The downside: sound and light travel freely, and you lose some usable floor space to arrangement constraints.
Maximizing Natural Light In Both Spaces
Once you split the room, one zone may lose direct window access, making light management critical for both comfort and perceived spaciousness. If the room has two windows (opposite or adjacent walls), you’re in luck, each space can have a window. If there’s only one window, the zone without it will feel darker: prioritize the sleeping area for the window (humans sleep better with some natural light) and use task lighting and ambient fixtures to brighten the office or secondary zone.
Window treatments matter: in the divided side without natural light, use sheer white curtains or lightweight roller shades (not blackout) to diffuse available light. In the zone with the window, avoid heavy drapes that block daylight: opt for cellular shades or light-filtering blinds to control glare while maintaining brightness. Paint both zones a light, neutral color, warm whites, soft grays, or pale beiges, to reflect available light and prevent either space from feeling cramped.
Add supplemental lighting strategically. LED track lighting mounted on the ceiling (or the partition wall itself if it’s permanent) illuminates the darker zone without harsh shadows. Desk lamps, wall-mounted reading lights, and plug-in sconces provide layered brightness for task work. Renovation cost guides often detail lighting budgets: plan to spend $100–$300 on fixtures and labor for basic upgrades. Mirrors opposite or adjacent to windows bounce light around, a strategically placed 36×48-inch mirror in the darker zone doubles perceived brightness at minimal cost ($30–$80).
Building Shared Storage And Utility Solutions
Utilities (HVAC, plumbing, electrical) are usually centralized in one bedroom zone. If splitting permanently, plan for climate control: a single heating vent doesn’t serve both spaces equally. Consider closing the main bedroom vent and adding a ductless mini-split unit (around $1,500–$3,500 installed) in the warmer zone, or use a damper to redirect some airflow. A manual damper in existing ducts costs under $50 and redirects warmth partially: it’s not perfect but helps balance temperature.
Electrical outlets: the dividing wall or existing walls may lack outlets in the new secondary space. Hire a licensed electrician to add outlet clusters in convenient locations, near a future desk (2–3 outlets), nightstand (1–2), and upper wall areas for future needs. Plan on $200–$500 for rough-in and finish work, depending on distance from the panel and local labor rates.
Storage is precious in split rooms. Built-in shelving or a wall-mounted desk with integrated cubbies maximizes every inch. Under-bed storage drawers (rolling plastic bins, around $20–$60 each) hide seasonal items and clothing. A shared closet between zones (if the original room had one) can be subdivided with a removable tension rod or partition shelf, splitting hanging space and shelf room proportionally. Alternatively, add a narrow wardrobe (PAX, Armoire style, or similar) in the zone lacking original closet access, expect $150–$400 for a decent unit.
Budget-Friendly Approaches To Bedroom Division
The cheapest route is furniture and temporary dividers: $300–$500 gets you a tension rod curtain system, a used bookshelf from Facebook Marketplace, and some area rugs. Pair that with smart arrangement and you’ve got a functional split for less than a weekend’s restaurant bills.
If a permanent wall makes sense but budget is tight, skip the professional drywall finishing: frame the wall, hang drywall yourself (tedious but doable for a motivated DIYer), and use beginner-friendly building guides to learn taping and mudding basics. Videos from experienced DIYers walk through the process step-by-step, and the cost savings, $200–$400 in labor, are worth the learning curve if you’re patient.
Mix approaches: install a permanent stud wall with a door ($500–$800 in materials, your labor) but forgo full drywall finishing initially, paint the studs, add temporary fabric panels, and finish drywall later when budget allows. Reclaim materials work too: a sliding barn door from salvage stores or online marketplaces costs $150–$300 and adds charm while separating zones.
Whatever route you choose, invest time in planning and measurement before spending money. A costly mistake, wrong partition location, poor light distribution, or a permanent wall blocking an outlet, is far more expensive to fix than a few hours sketching layouts and testing furniture arrangements first. Start with a scaled floor plan, mark window and vent locations, and visualize traffic flow before committing.