Table of Contents
ToggleA cramped kitchen doesn’t mean settling for poor ventilation. Small kitchen range hood ideas have evolved dramatically, giving homeowners far more than the single-duct-through-the-ceiling option their grandparents faced. Today’s compact hoods come in sleek under-cabinet models, downdraft systems that vanish when not in use, and wall-mounted designs that actually look good. The trick is matching the hood type to your kitchen’s layout, your cooking style, and where you can realistically run ductwork. Whether you’re renovating a galley kitchen, updating a tiny apartment, or squeezing a full cook’s setup into a small space, understanding your hood options, and the real-world constraints of installation, makes the difference between a project that works and one that leaves you choking on cooking fumes.
Key Takeaways
- Small kitchen range hood ideas include under-cabinet, island, downdraft, wall-mounted, and convertible options—choose based on your layout, cooktop location, and available space.
- Under-cabinet hoods are the most practical space-saving choice for small kitchens, requiring only 12 inches of cabinet clearance and costing $150–$600 plus installation.
- Downdraft and telescoping hoods minimize vertical clutter, but downdraft systems are less efficient at capturing fumes and require below-floor ductwork installation.
- Measure your cooktop width first: your hood should match or slightly exceed it to prevent fumes from escaping around the sides.
- For serious cooks, a properly ducted hood is worth the installation effort—ductless options recirculate rather than remove heat and moisture, requiring filter changes every 3–6 months.
- Verify local building codes and seal all ductwork joints with mastic sealant, not tape, to ensure efficient ventilation and prevent condensation in your small kitchen.
Under-Cabinet Range Hoods for Space-Saving Ventilation
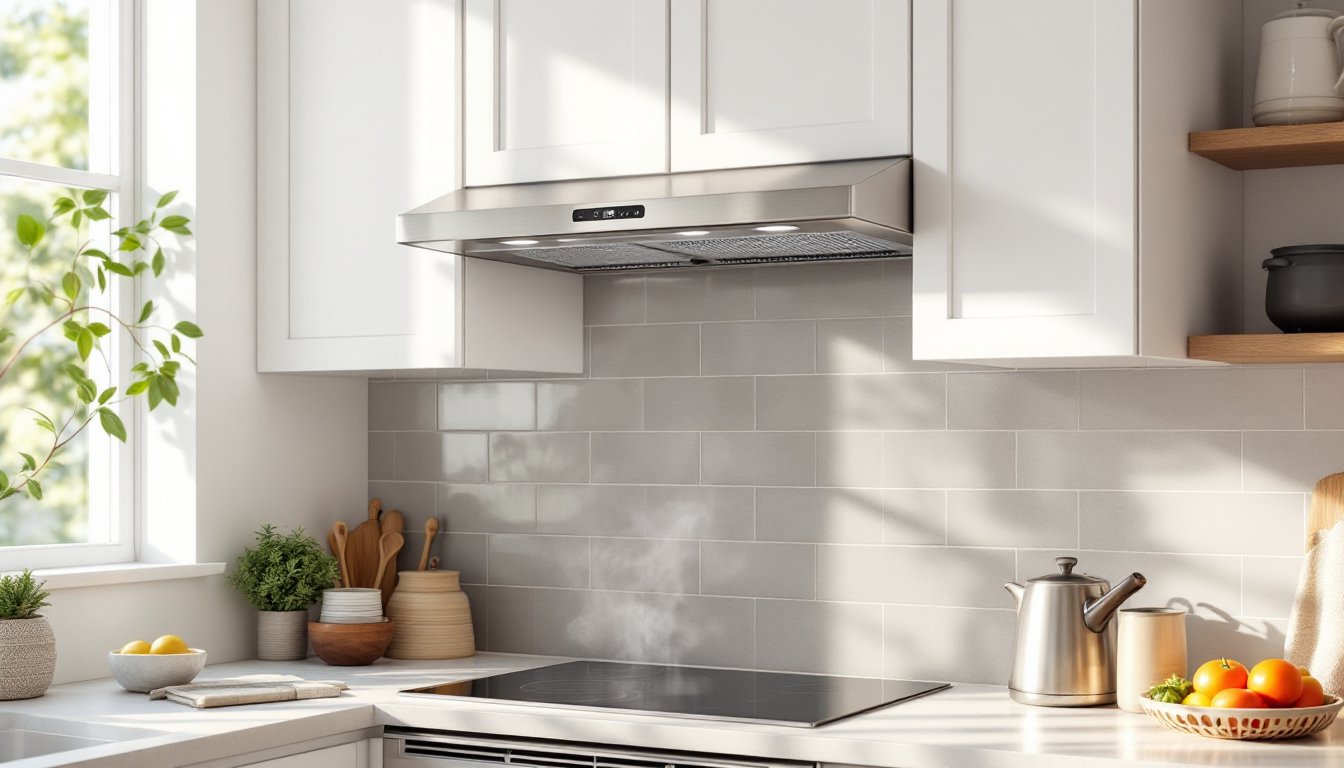
Under-cabinet hoods are the most practical choice for small kitchens because they mount directly to the underside of your wall cabinets, no extra space needed. These units sit flush against the cabinet bottom and typically stand 12 to 15 inches tall, leaving your countertop completely clear. They work best over a 24- to 30-inch cooktop where the counter runs perpendicular to the stove, which is standard in apartments and smaller homes.
These hoods usually exhaust directly through the wall or ceiling via flexible or rigid ductwork (typically 6 inches in diameter). If you’re installing one, you’ll need to cut a hole through the cabinet bottom and run ducting to an exterior wall or through the attic. This is doable as a DIY project, but verify your kitchen’s cabinet depth first, you need at least 12 inches of clearance inside the cabinet above the hood itself. Sound matters here: under-cabinet hoods tend to run noisier than island models (often 70–80 decibels at high speed), so look for models with dampers and insulation if noise bothers you.
Cost-wise, you’re looking at $150 to $600 for the hood itself, plus ductwork materials and installation. The installation challenge is moderate if your cabinet is accessible: if you have a built-in soffit or limited headroom above the cabinet, you might need a professional.
Island and Ceiling-Mounted Hoods for Open Layouts
Island hoods hang from the ceiling directly above a cooktop in the middle of the kitchen, perfect if your kitchen is open-plan and the stove isn’t against a wall. These hoods are statement pieces: they’re visible from everywhere, so design matters. You’ll find sleek stainless-steel models, modern glass or wood-wrapped versions, and minimalist slab designs that blend into contemporary kitchens.
The installation requires running ductwork vertically through the ceiling (and often the attic or a soffit) to exhaust outside. This is a bigger job than under-cabinet work because you’re dealing with ceiling penetration, and many jurisdictions require a permit and inspection. You’ll also need a sturdy mounting bracket bolted to a ceiling joist or added blocking, an island hood can weigh 50 to 100 pounds, and it can’t sag or twist. If you’re handy and comfortable accessing the attic, you can handle the ductwork yourself, but the ceiling cutout and joist work deserve respect.
Ceiling-mounted models typically cost $300 to $1,500 depending on size and finish. The payoff is aesthetics and function in one piece. But, they’re visibly less efficient in truly tight kitchens because a narrower hood over a larger space lets more fumes escape sideways. Size your hood to slightly overlap your cooktop on all sides for best capture.
Downdraft and Telescoping Range Hoods
Downdraft hoods pull fumes downward through the cooktop and route them underground (via ductwork below the floor) to an exterior vent. They’re nearly invisible when not in use, just a sleek panel that rises only when you’re cooking. This is brilliant for small kitchens where headspace is tight or you can’t run vertical ductwork through a ceiling.
The catch: downdraft systems are less efficient than overhead hoods at capturing fumes, especially from tall pots. They work best with smooth-top electric ranges or induction cooktops where cookware sits flat and fumes can be pulled straight down. Downdraft models typically start around $800 and climb to $2,000+. Installation is complex, you’re routing ductwork below the floor, which requires a crawlspace or basement and structural access. This is definitely a job for a professional unless you’re experienced with subflooring.
Telescoping hoods mount under cabinets and extend outward when turned on, then collapse flat when off. They save vertical space and are visually lighter, making small kitchens feel less cramped. They’re quieter than fixed under-cabinet models and typically cost $250 to $800. But, the motor mechanism wears over time, and moving parts mean potential repairs down the line. For DIY installation, they’re similar to fixed under-cabinet hoods, straightforward if your cabinet layout cooperates.
Wall-Mounted Chimney Hoods That Blend With Small Kitchens
Wall-mounted or chimney-style hoods sit against the wall above your cooktop and duct upward, typically through a soffit or the attic. They’re a smart pick if your stove is already against an exterior wall and you want a traditional look that doesn’t scream “appliance.” Modern versions come in sleek stainless steel, black glass, or painted finishes that coordinate with cabinetry.
The installation is moderate, you’re running ductwork vertically, similar to an island hood, but you only need one wall penetration instead of a ceiling penetration. Most wall-mounted hoods are 24 to 36 inches wide and sit about 24 to 30 inches above the cooktop (check your appliance manual for the exact clearance). You’ll want to secure the hood to wall studs or add blocking: these units are lighter than islands (20 to 50 pounds) but still need rock-solid mounting.
Wall-mounted hoods cost $200 to $1,200 and are commonly the most affordable option that looks intentional in a small kitchen. The design flexibility is good, you can paint them to match cabinetry or choose finishes that pop visually. One consideration: if your wall is exterior and insulated, running ductwork through it requires careful sealing to avoid condensation and drafts. Use a rigid or insulated flex duct, and always install a damper in the exterior vent to prevent backflow.
Convertible and Portable Range Hood Options
Convertible range hoods offer a middle path: they can work as either ducted (venting to outside) or ductless (recirculating air through charcoal filters back into the kitchen). This flexibility is gold if you’re renting, in a condo with HOA restrictions, or genuinely unsure about your ducting options. You buy the hood, set it up ducted if possible, and if that doesn’t work, plug it into ductless mode, no reinstallation needed.
The tradeoff: ductless mode is less effective than ducted venting. Charcoal filters trap particles and odors but don’t remove heat or moisture the way venting outside does. You’ll need to replace filters every 3 to 6 months, and they cost $20 to $50 per set. Ductless hoods are also generally louder (75–85 decibels) because they recirculate air through more restrictive filtering. That said, for a small kitchen where ducting truly isn’t possible, ductless is better than nothing.
Portable or countertop hoods are compact units you set on the counter next to your cooktop, no installation needed. They’re great for renters, tiny kitchens, or as temporary solutions. Expect limited suction power and higher noise levels, but prices are low ($100 to $300). They work for light cooking: if you’re a serious cook who sears and fries regularly, a properly ducted hood is worth the installation effort. Portable units require no tools or permits, making them appealing for DIYers with no installation experience.
How to Choose and Install the Right Hood for Your Space
Start by measuring your cooktop width and determining where your stove sits relative to walls and cabinetry. A hood should be as wide as or slightly wider than your cooktop, too narrow and fumes escape around the sides. Check your cabinet depth (for under-cabinet models) or ceiling height (for islands). Sketch your kitchen with cooktop location, cabinet layout, and exterior walls marked: this tells you whether vertical or horizontal ductwork is feasible.
Next, think about your cooking style. If you rarely cook or stick to gentle simmering, a ductless portable hood might suffice. If you roast, broil, or stir-fry regularly, investing in a ducted hood is worth it, you’ll breathe better, and your kitchen stays cooler. Noise matters too: run-of-the-mill under-cabinet hoods are loud: if you value quiet, expect to pay more or consider a downdraft or wall-mounted model.
For installation, be honest about your skills. Mounting a hood to wall studs and running flexible ductwork through a wall is DIY-friendly if you’re comfortable with a drill and basic fasteners. Cutting through ceilings, running ductwork through attics, or installing dampers at exterior walls is more complex, a handy homeowner can do it, but a professional HVAC installer or carpenter might save frustration. Verify local building codes before you start: some jurisdictions require permits and inspections for range hood installation, especially if ductwork affects the home’s envelope or spans multiple spaces.
Always install a damper or backdraft valve in your exterior duct to prevent cold air, pests, or rain from flowing back in. Insulate any ductwork that passes through unconditioned spaces (attics, garages) to avoid condensation. Finally, seal all ductwork joints with mastic sealant, not just tape, duct tape fails over time in temperature swings. Resources like The Kitchn and Remodelista’s guide to small range hoods offer design inspiration and product reviews to narrow your choices further. If you’re tackling a tiny house kitchen, space constraints demand extra planning, measure twice, duct once.
Conclusion
Small kitchens don’t have to feel claustrophobic or smoky. The right range hood, whether an under-cabinet workhorse, a sleek island pendant, or a flexible ductless option, addresses both ventilation and design. Match the hood type to your kitchen layout, cooking habits, and realistic installation capacity. A properly vented kitchen is healthier, cooler, and more pleasant to cook in. Take time to measure, sketch, and plan: the few hours of prep work now pay dividends for years of clear air and smoke-free cooking.