Table of Contents
ToggleBathroom flooring takes a beating, water, humidity, bare feet, and daily traffic demand materials that look sharp while holding up to moisture and wear. Tile flooring has remained the go-to choice for bathrooms because it delivers on both fronts: durability and design versatility. Whether you’re renovating a master bath or updating a guest half-bath, the tile options available today go far beyond basic white subway tiles. From classic ceramics to luxury stone and bold mosaic patterns, there’s a bathroom tile style that fits your aesthetic and your budget. This guide walks you through nine compelling tile flooring ideas so you can choose with confidence and install, or plan your installation, like a pro.
Key Takeaways
- Tile flooring is the ideal choice for bathrooms because it combines exceptional durability and design versatility to withstand moisture, humidity, and daily traffic.
- Ceramic tiles are affordable and forgiving for DIY installation, while porcelain tiles offer superior durability and a modern minimalist look with large-format options up to 24×48 inches.
- Natural stone tiles like marble, slate, and travertine add luxury appeal but require consistent sealing every 6–12 months and professional installation due to their weight and porosity.
- Mosaic and patterned tile flooring ideas allow for creative personalization, though they require more grout and careful grouting, making them ideal as accents paired with neutral large-format tiles.
- Proper substrate preparation, correct mortar consistency, and thorough sealing of grout lines are critical to preventing water damage, mold, and premature floor failure in bathroom environments.
- Using a notched trowel at a 45-degree angle and allowing 48 hours for mortar cure before grouting ensures a professional finish that will last 20+ years.
Classic Ceramic Tiles: Timeless Elegance and Durability
Ceramic tiles remain one of the most popular bathroom flooring choices, and for good reason. They’re affordable, come in countless colors and finishes, and resist moisture better than most materials when properly sealed. A standard ceramic tile for bathroom floors typically measures 12×12 inches or 18×18 inches, though smaller formats like 8×8 inches work well for accent patterns.
The key to ceramic longevity in a bathroom is understanding water absorption. Ceramic tiles have a slightly higher absorption rate than porcelain (typically 0.5% to 3%), so you’ll need to seal grout lines thoroughly, not the tile itself. Use a water-based or epoxy grout sealer applied after the mortar cures completely (usually 48–72 hours). Matte or textured ceramic finishes offer better slip resistance than glossy glazes, a genuine safety consideration on wet bathroom floors.
Glazed ceramic comes in warm neutrals, cool blues, soft grays, and earthy terracottas. It’s lighter to work with during installation than stone, and the nominal size (the size listed on the box) matches the actual size more closely than some natural materials. For a homeowner tackling a small bathroom floor, ceramic is forgiving enough that minor layout adjustments don’t show as much as they would with larger tiles.
Modern Porcelain Tiles: Style Meets Practical Performance
Porcelain tiles are denser, less porous, and more durable than ceramic, they’re the athletic upgrade in the tile world. With water absorption below 0.5%, porcelain requires less aggressive sealing and stands up better to freeze-thaw cycles if your bathroom is in a cold climate or an exterior powder room. They’re also lighter-colored and harder to scratch, making them ideal for bathrooms where durability matters.
Large-format porcelain tiles (up to 24×48 inches) are trending in 2026 because they create a cleaner visual line with fewer grout joints, a minimalist aesthetic that’s easier to keep clean. But, large tiles require a perfectly flat substrate: any dips or high spots in the floor will show or cause tiles to crack. If your subfloor has any bounce or unevenness, you’ll need to level it with a self-leveling compound before laying tile.
Porcelain also comes in wood-look, stone-look, and even concrete-look finishes, giving you design flexibility without the maintenance demands of those materials. The tradeoff: porcelain costs 20–40% more than ceramic, and cutting porcelain requires a wet saw with a diamond blade, a tool investment or rental if you’re not already equipped. If you’re installing porcelain yourself, factor in the learning curve for mixing the right mortar consistency and maintaining proper grout joint width (typically 3/16 inch for large-format tiles).
Natural Stone Tiles: Luxury and Authentic Beauty
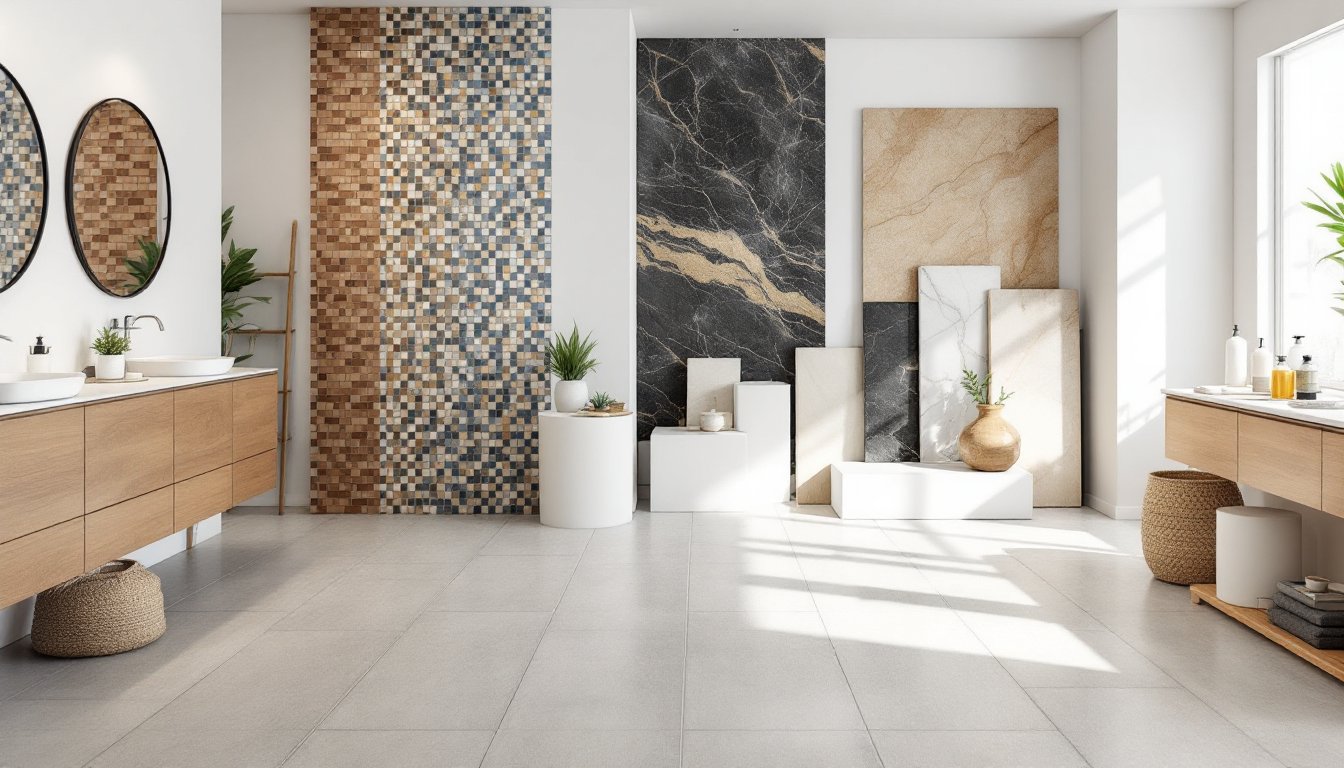
Natural stone, marble, slate, limestone, and travertine, brings warmth and authentic character that manufactured tiles can’t quite replicate. Stone is elegant, durable, and feels premium underfoot. But, it demands respect and maintenance. Unlike ceramic or porcelain, stone is porous and can stain or etch from acidic cleaners or water spots if not sealed properly.
Marble, Slate, and Travertine Options
Marble is prized for its veining and luxury feel but is the softest natural stone and prone to etching from soap residue and hard water. It works best in powder rooms with light traffic rather than busy master baths. Marble typically costs $10–20 per square foot (material only) and requires sealing every 6–12 months.
Slate is denser and more slip-resistant than marble, with a natural cleft finish that adds texture. It ranges from charcoal to golden tones and doesn’t etch like marble does. Slate costs $8–15 per square foot and also needs periodic sealing. The cleft texture can trap moisture in grout lines if not sealed comprehensively, so epoxy grout is often the better choice than traditional cement-based grout.
Travertine is softer than slate but harder than marble, with a warm, honeyed appearance and natural holes that add character. These holes must be filled with epoxy or matching stone dust before sealing, or they’ll trap water and harbor mold. Travertine runs $5–12 per square foot and requires the same sealing discipline as marble.
All natural stone tiles are heavier than ceramic or porcelain. A 12×12-inch marble tile weighs around 3–4 pounds, while a 24×24-inch piece can weigh 12+ pounds. You’ll need proper mortar, modified thin-set, never unmodified, and likely professional installation unless you’re experienced. Most jurisdictions don’t require permits for cosmetic flooring, but if your bathroom subfloor wasn’t designed for the added weight of stone, consult a structural engineer first.
Mosaic and Patterned Tiles: Creative Visual Interest
Mosaic tiles, whether small glass, ceramic, or stone tesserae (individual pieces), let you create bold, personalized patterns. A traditional mosaic bathroom floor might feature a geometric border inset with a neutral field, or a random blend of complementary colors. Modern mosaic trends lean toward subtle gradations and abstract layouts rather than rigid symmetry.
Patterned tile sheets (pre-assembled mosaics glued to a mesh backing) simplify installation compared to laying individual pieces. A sheet typically covers 1–2 square feet and comes ready to set in mortar. This cuts installation time roughly in half compared to hand-placing each tile, though you still need patience, a level surface, and careful grouting.
Smaller mosaic tiles (roughly 1×1 inch to 4×4 inches) require narrower grout joints and more grout overall, budget 15–20% more grout than a standard tile job. The upside: smaller tiles conform better to slightly irregular substrate dips. Checkerboard tile patterns and contrasting color combinations work beautifully in bathrooms where you want personality without overwhelming the space. Pair a mosaic accent wall or floor border with large-format tiles in a neutral tone to balance visual complexity and practical maintenance.
Installation Tips for a Professional Finish
Proper installation separates a bathroom floor that lasts 20+ years from one that cracks, shifts, or develops mold. Start by assessing and prepping your substrate. Concrete and cement board are ideal. Plywood isn’t suitable for a wet bathroom unless it’s exterior-grade and underlaid with cement backer board at least ½ inch thick, this is non-negotiable. Water will eventually warp plywood even if sealed.
Measure and plan your layout before you mix any mortar. Dry-lay your tiles in a grid to identify cuts and ensure the layout is balanced (avoid thin slivers on edges). Take a photograph of your dry layout, you’ll reference it during installation. For most bathroom floors, using a heated flooring system adds comfort on winter mornings and can reduce mold by keeping the floor warm and dry.
Mix thin-set mortar to a peanut butter consistency, thick enough that it holds ridges but spreadable. Use a notched trowel (typically 3/8 inch for small tiles, ½ inch for larger formats) held at a 45-degree angle to create even ridges. Press each tile with a slight twisting motion: voids under tiles are the #1 cause of cracked grout and hollow-sounding, failed floors. Use spacers to maintain consistent 3/16-inch grout joints (adjust based on your tile size and aesthetic).
Allow mortar to cure fully, 48 hours is standard, before grouting. Use unsanded grout for joints narrower than 3/8 inch and sanded for wider joints: unsanded grout shrinks less and works better for small spacing. Seal grout lines with a water-based or epoxy sealer after the grout cures: this single step prevents water damage and mold in porous grout. Wear safety glasses, a dust mask (N95 or P100), and nitrile gloves when cutting tile and mixing mortar. A wet saw throws fine silica dust that damages lungs over time, never skip the mask.
If you’re uncertain about subfloor prep, moisture barriers, or load-bearing concerns, hire a licensed tile installer for at least a consultation. Many building codes (governed by the International Residential Code, or IRC) require specific waterproofing in wet areas, and your local inspector will catch shortcuts during a permit inspection. A $300 consultation is cheaper than a $3,000 mold remediation later.
Conclusion
Your bathroom tile choice sets the tone for the entire space and affects how long your floor will perform. Ceramic and porcelain offer proven durability and style at accessible price points: natural stone brings luxury and warmth but demands maintenance commitment: mosaic and patterned tiles add personality and visual drama. Whichever direction you choose, prioritize proper substrate prep, correct mortar and grout selection, and thorough sealing. Get inspiration from design platforms like Homify and HGTV, but ground your decisions in material performance and installation reality. With solid planning and attention to detail, or a skilled professional handling the work, your new bathroom floor will be both beautiful and built to last.